Events and What's On
NOTE: Page Edit mode should always be turned off when adding or editing events.
Once you have logged in, navigate to the events/what's on page.

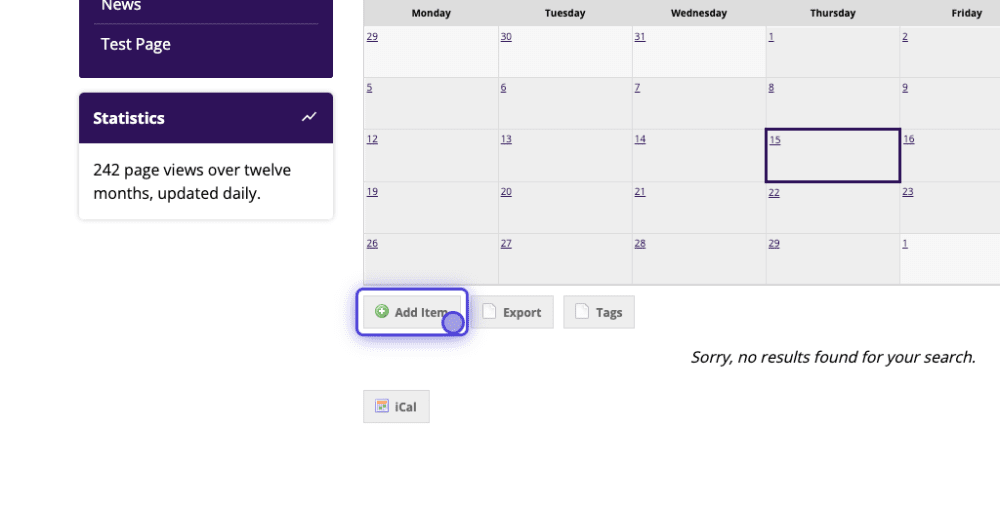
To begin adding a new event, click the 'Add Item' button.

Once you click on the add item button, you'll be redirected to an edit page in your browser.
You may start adding in your events information.
- Give your event a concise but descriptive title (remember it should make sense out of context)
- Select the date and time your event takes place
- Type the event's venue in to the venue box
- If you have one, upload a suitable picture - remember you must have permission to use the image
- Add a summary of your event into the Summary area - this will be displayed in listings and should be a brief description i.e. a snapshot of the course/event which gives people an overview so they can quickly decide whether they want to read more or not
- In the Full Description box write a full overview of the event - this is the text people will see when they click on the event. N.B. This is not displayed in listings.
- Add the relevant Tags to your article, separated by commas
- Apart from giving users an easy way to find related content, tags define where on the site, in addition to the main news page, the article is displayed e.g. any articles tagged Archery will appear on the Archery page.
- If required, add a link where people can get more information
- Link to Page allows you to choose a page on your website
- External Website allows you to link people to a third-party website - remember to test your link using the Go button
- If required, upload an Attachment for your event (e.g. a document, pdf etc.)
- Depending on how the events area has been set up you may see a Booking Information section - if this section is present but you do not wish to take bookings, simply leave Accept Bookings set to No

After completing the details for your event, scroll down to the bottom and select 'Save' to finalise the changes.

You'll then see your event appear on the website. (In this case, you do not need to 'Approve' anything. The event has already been published to your site.)


